Independent Makers
Custom objects
Turn a customer's simple logo into a dimensional keychain concept, then test the shape at a small print size.
Turn your image into a print-ready 3D model.
Upload a PNG or JPG image and turn it into a print-ready STL model for 3D printing.
Preview your model online, customize the result, and download the STL file in minutes.
Start with an image or description to explore a watertight 3D model designed for printing.
See What's Possible
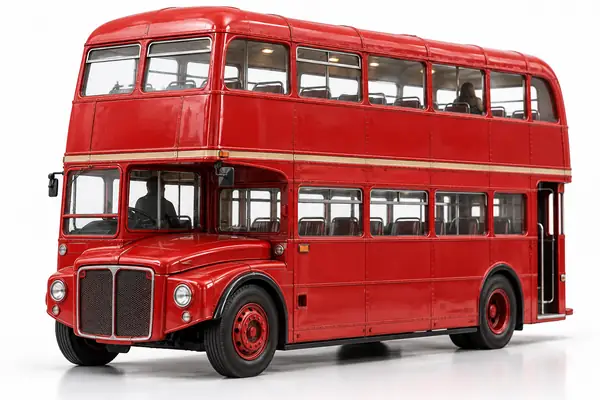
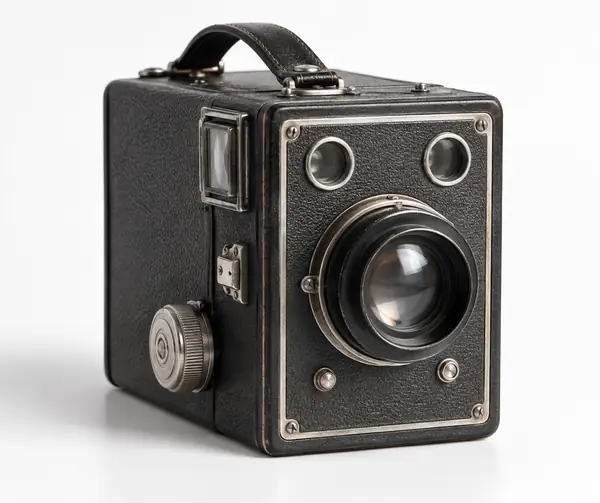
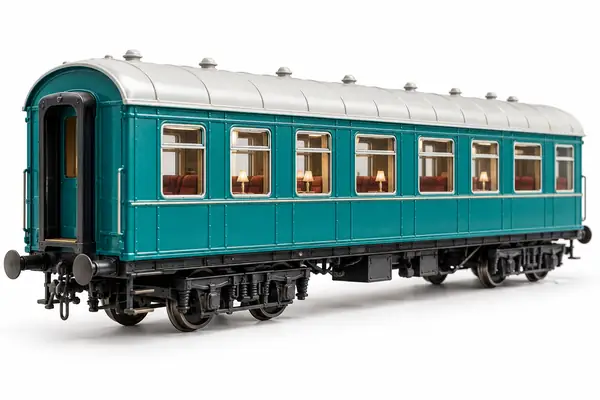
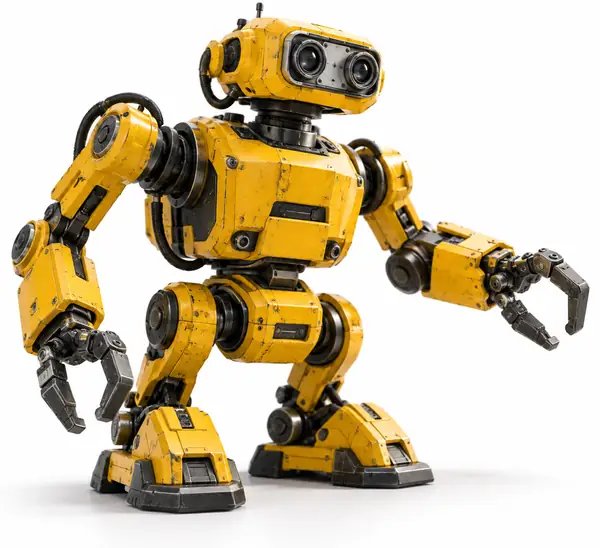
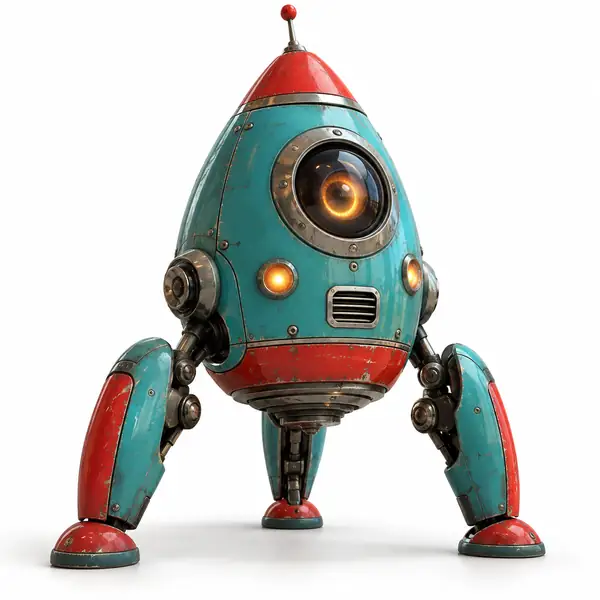
Discover what image-to-3D conversion can achieve. From artwork and logos to product designs, explore different kinds of transformations.

The Smart Choice for 3D Creation
Explore an approachable image-to-3D workflow with options suited to first-time makers and experienced creators alike.
Move from an image toward a 3D model quickly, with a workflow that considers shape, texture, and depth.
Aim for smooth surfaces, useful detail, and geometry suited to the demands of 3D printing.
You do not need to begin with CAD. Start with an image and follow a straightforward conversion process.
Work toward STL files with the topology and closed surfaces that printable models need.
Everything You Need for Better Conversions
Discover the tools and settings that help adapt an image-to-3D project to your intended result.
Interpret shapes in a flat image to give the resulting model realistic depth and dimension.
Adjust extrusion depth and base thickness to suit the size and purpose of your print.
Begin with common image formats, including PNG and JPG, without rebuilding your source artwork.
Keep a collection of related image-to-3D projects organized within one workflow.
Balance visible detail and file complexity for the scale of your intended 3D print.
Start the conversion online without first setting up a desktop modeling application.
Simple 3-Step Process
Take your PNG image toward a 3D STL file through a clear process designed to keep each decision manageable.
Choose the image you want to turn into a model. A clear, high-resolution source helps preserve useful detail.
Consider the height, depth, and level of detail your print requires, then review the shape before exporting.
Take the finished STL into your preferred slicing software and prepare it for your 3D printer.
AI-Powered 3D Generation
Understand the stages that take an image from flat pixels toward printable three-dimensional geometry.
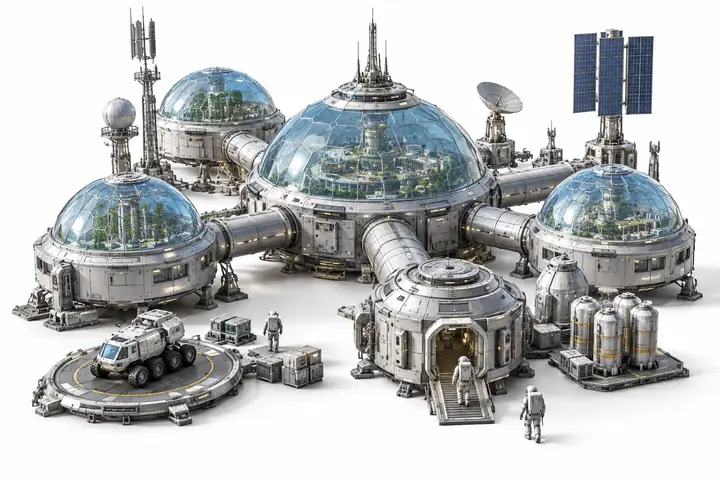
Image analysis identifies edges, shapes, and cues that may indicate depth in the original artwork.
Those visual cues inform a mesh structure, with surfaces and vertices forming the model's shape.
The final geometry is prepared with printable surfaces and a practical level of mesh detail.
Choose Your Creative Workflow
Whether you are trying a first print or preparing a collection of models, start with the approach that fits your project.
A simple way to explore what an image could become in 3D.
Try an imageFor designers converting sketches, logos, and other artwork often.
Explore conversionA considered route for sets of related designs and production ideas.
Start a projectIdeas for What You Can Make With PNG to STL
Custom objects
Turn a customer's simple logo into a dimensional keychain concept, then test the shape at a small print size.

Rapid prototyping
Explore a physical version of a flat concept before committing time to a more detailed CAD model.

Brand concepts
Imagine familiar brand artwork as a small promotional object or a tangible presentation mockup.
Customer projects
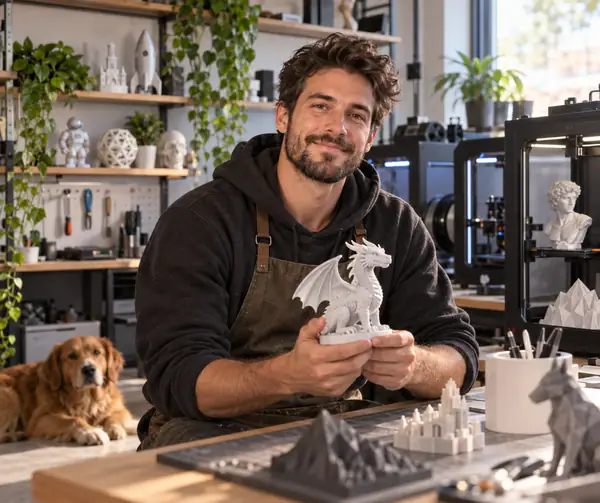
Use customer-supplied artwork as a starting point, then inspect the STL before offering a finished print.

Personal designs
Try translating a bold sketch or graphic motif into a dimensional prototype you can hold.
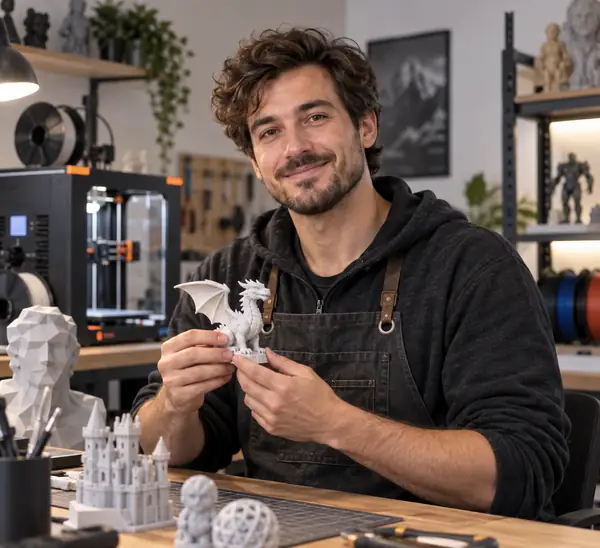
Model preparation
Compare the source image with the resulting geometry and check the model in a slicer before printing.
Everything You Need to Know
JPG is another common starting format. For the clearest result, choose an image with well-defined shapes and good contrast.
The result depends on the source image and the detail you need. Inspect dimensions, thin areas, and geometry before making a final print.
The conversion workflow supports source images up to 50MB. A clean image often matters more than an unusually large file.
STL is widely supported by slicing software. Always inspect the file and select settings appropriate for your particular printer and material.
Timing varies with image complexity and the chosen settings. Once it is ready, allow a little extra time to review the model before printing.
Take your image from a flat idea toward a 3D model. Start exploring what you could print today.